Our WebDAV Server works with Microsoft Outlook 2013! PC Users can now share their calendars with other PC users or Apple users using Microsoft Outlook and our WebDAV Hosting.
Our WebDAV Hosting can be used with Microsoft Outlook 2013 to publish .ics files to our WebDAV Server. View Microsoft Outlook 2013 Calendars on PC's or Mac's. Updates can be set to automatically publish. Calendars can also be viewed with either a public or private (password protected) web site address, which is included with our iCal WebDAV Hosting accounts.
Step 1) Open Outlook and click the Calendar tab towards the bottom in the left column.

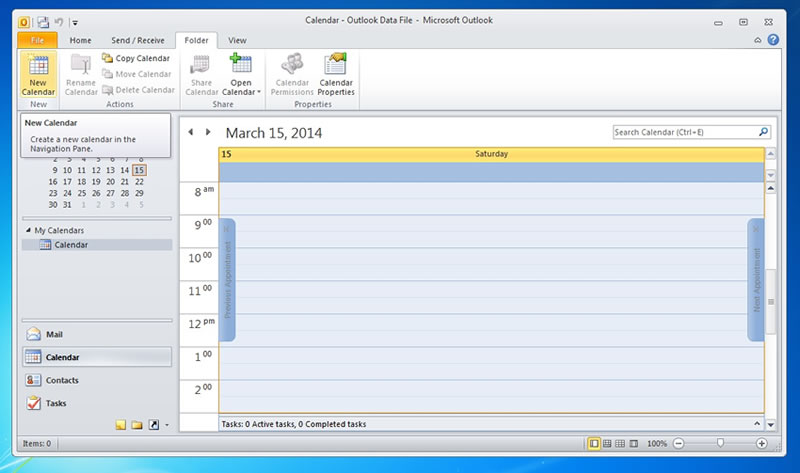
Step 2) If you don't have an existing calendar, create one by going to File > New > Calendar.
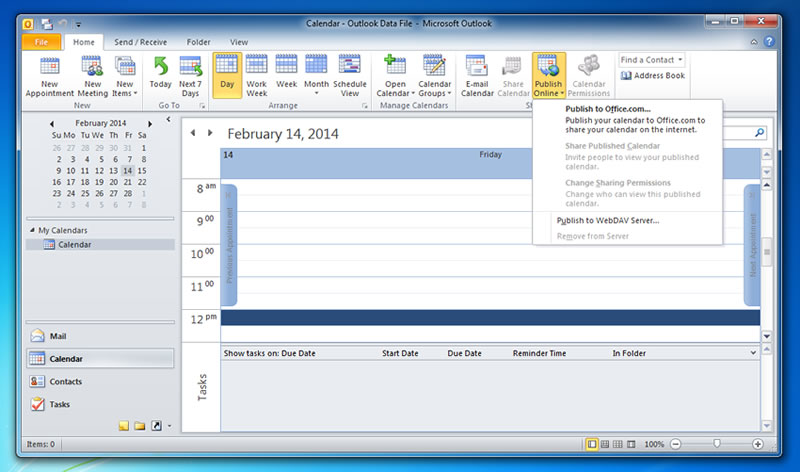
Step 3) Once you are ready to publish your calendar, select your calendar under the My Calendars listing in the left-hand column. Then select Publish Online > Publish to WebDAV Server.
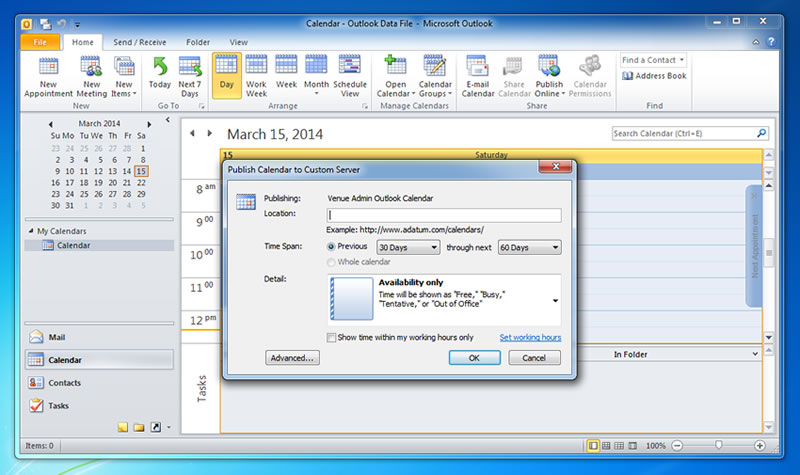
Step 4) For the location, copy the Publish to address found in your setup letter. Note that each account includes a Private (passowrd-protected) address and a Public (non-protected) address. Do NOT include the file name. The address should end as shown in the example. .../calendars/
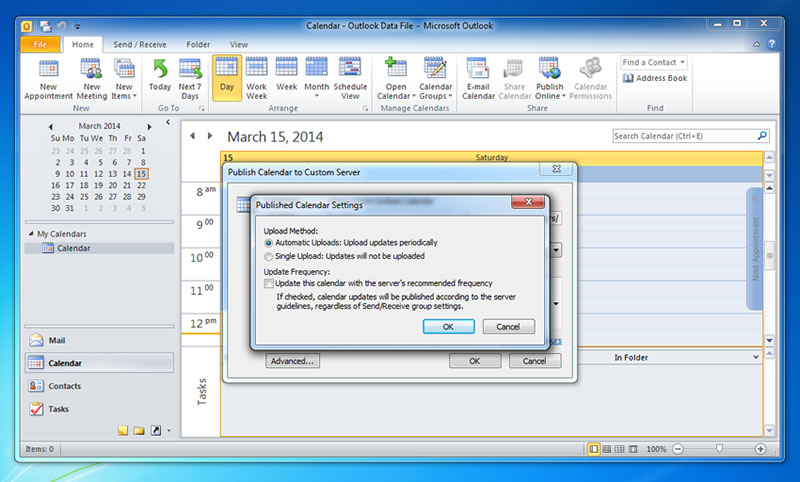
Step 5) Click Advanced and uncheck the Update Frequency which will be checked by default. Automatic Uploads should be selected.
Step 6) You will be prompted for the username and password. Use the information provided in the set up letter.
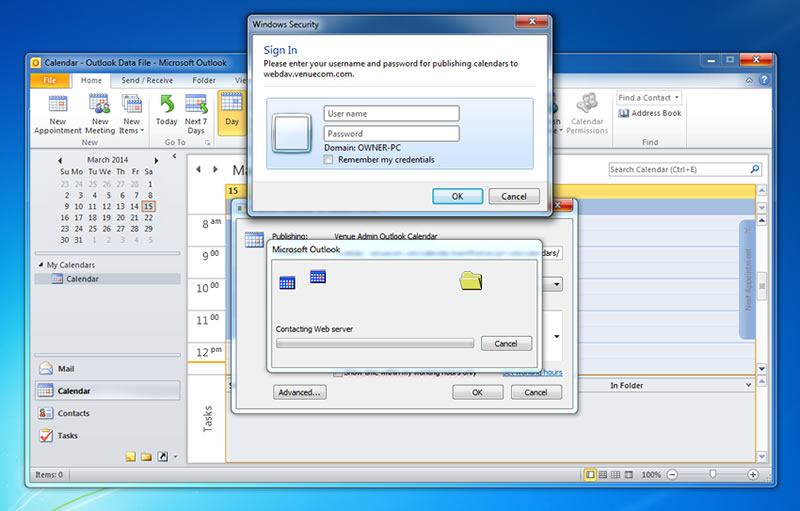
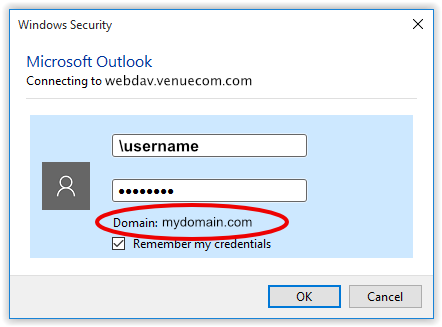
If you are using Windows Active Directory there will be a Domain visible under the password, and you will need to put a backslash in front of the username. Example: \username.
Step 7) If you published your calendar successfully you will receive a confirmation notification.

Venue Communications, Inc. offers WebDAV Hosting.
See Also Microsoft's Instructions for publishing from Outlook 2010.

