Apple Calendar for the Mac Help
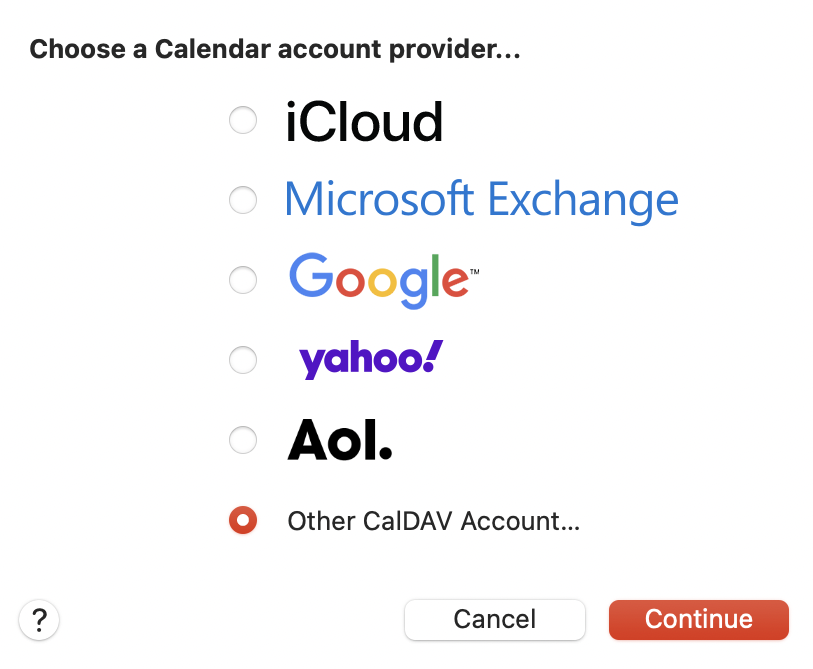
From the Calendar menu, select Preferences. Click accounts. Click the plus icon (lower-left) to add a new account and select Other CalDAV Account, as shown in the illustration below.
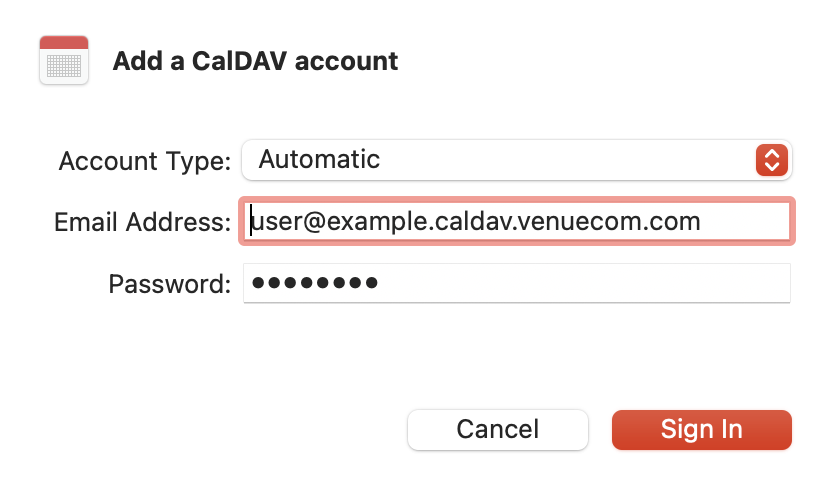
Click Continue. Leave the Account Type set to Automatic and enter the CalDAV Email Address and CalDAV Password provided in the setup email, as illustrated below:
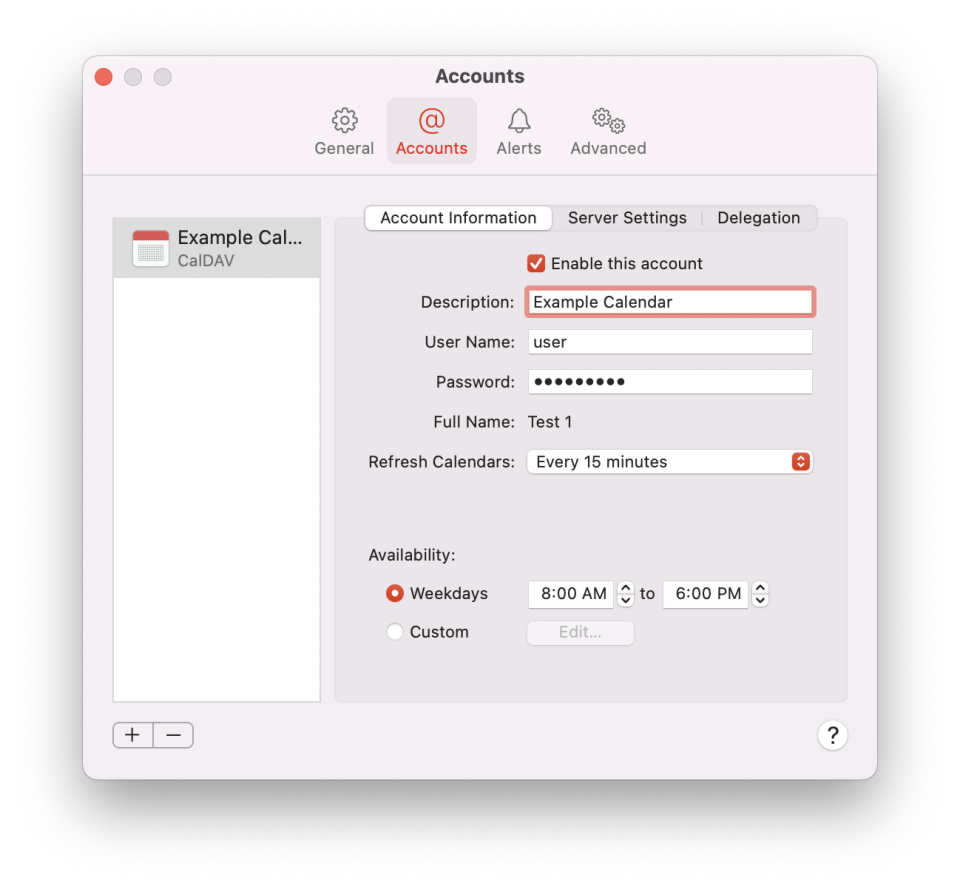
Once the account is added, it will be listed in the accounts as illustrated below. You may edit the Description from here.
Apple Calendar for iPhone and iPad Help
- Open System Preferences (Settings in iOS).
- Click Internet Accounts (Mail, Contacts, Calendars in iOS).
- Click the plus sign (Add Account in iOS) then Add Other Account from the bottom of the list.
- Select Add CalDAV Account.
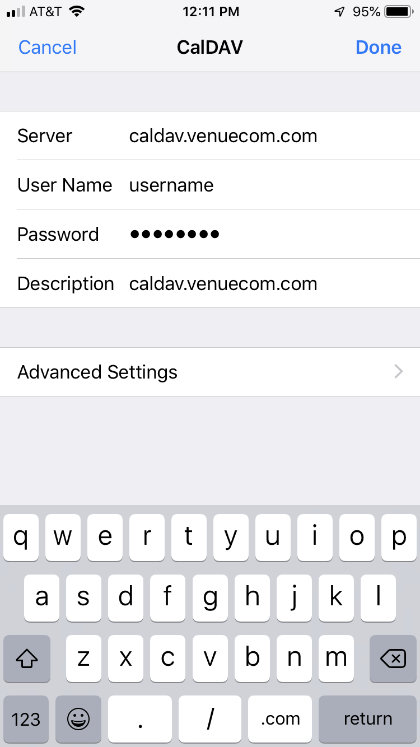
- Enter the CalDAV Server Address, CalDAV Username and CalDAV Password provided in the setup email as illustrated below.
Moving Events Help
In macOS to move or copy events from one calendar to another, do any of the following:
- Double-click or force click the event, then choose a calendar from the colored square pop-up menu in the top-right corner.
- Drag the event to a new calendar in the calendar list. If you don’t see the calendar list on the left, choose View > Show Calendar List.
- To move several events at once, Command-click the events to select them, Control-click one of the selected events, then choose Calendar > [calendar].
- To copy an event, select the event, then choose Edit > Copy. Select the calendar where you want the event, then choose Edit > Paste.
- To move all events from one calendar to another, export one calendar and import it into another. Refer to Calendar built in Help for export and import instructions.
When you have a lot of events it will be faster to Export and then Import. Go to the File menu and Export to .ics. Then File menu Import. It will then ask which calendar to import the data to. Works very well.
Venue Communications, Inc. offers CalDAV Hosting.