Illustrated instructions for subscribing to a calendar published to our WebDAV Calendar Hosting Service.
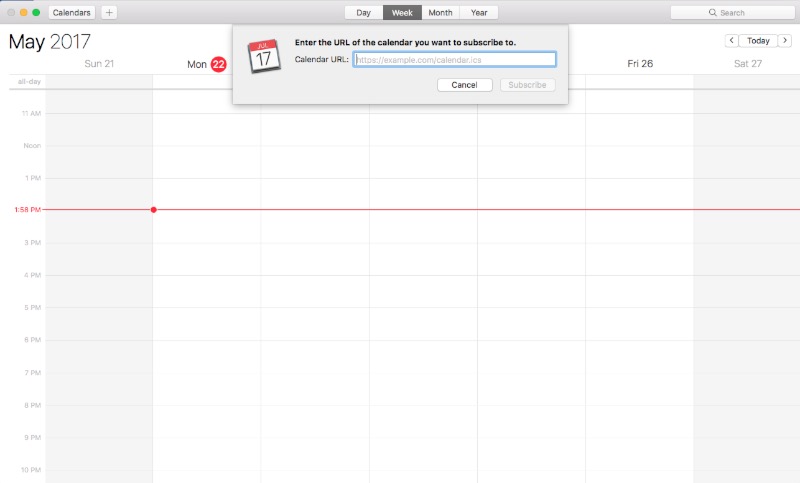
Step 1) On any Mac running macOS Sierra or newer open Calendar and go to File and select New Calendar Subscription.

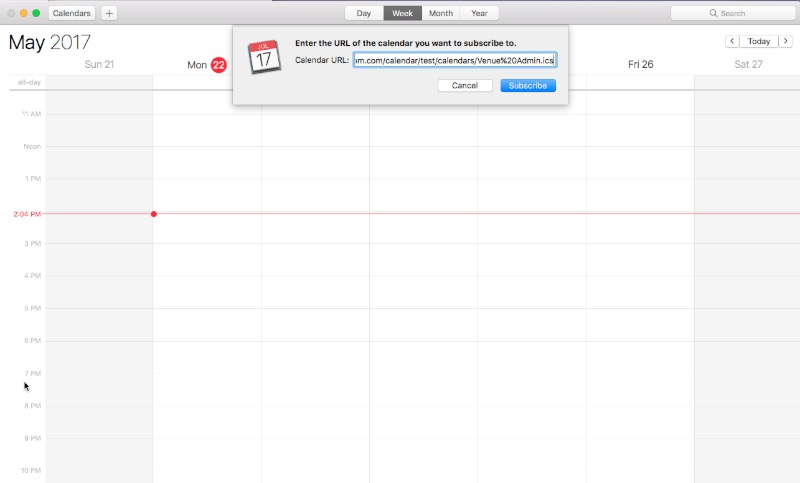
Step 2) Enter the URL of the calendar. For example: https://webdav.venuecom.com/calendar/your_unique_username/private/calendars/calendar_name.ics. If subscribing to a Private calendar it will prompt you to enter the User Name and Password.

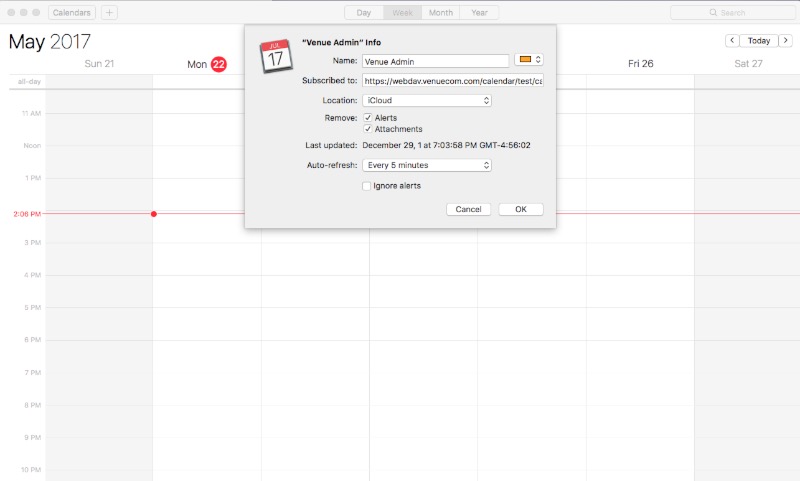
Step 3) The next window allows you to change several important subscription settings.
Update Frequency: Auto-Refresh can be set from anywhere from No or Every 5 Minutes to Every Week.
Alerts or Reminders: Please note Alerts (reminders) and Attachments are automatically removed unless you uncheck those boxes.
Location: Location drop-down (if available) can be set to iCloud or On My Mac. Setting it to iCloud will cause the calendar subscription to automatically appear on all Apple devices using the same iCloud account.

Venue Communications, Inc. offers WebDAV Hosting.

